To make everything seamless, we'll need your images organized.
Follow the directions below to set up your folders and images.
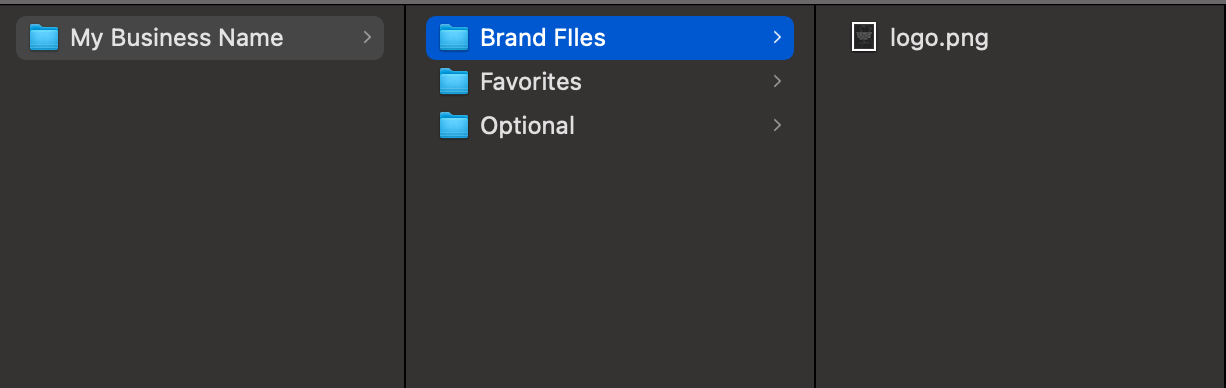
1. On your computer, create the main folder that everything will live in. Title it with your full business name.
2. Within that main folder, create 3 subfolders: Favorites, Brand Files and Optional. You are going to use this folder to share your business logo, designate your preferred photos and other options you approve for us to use.
3. Place the photos in the appropriate folder for the corresponding category they belong in. Please note, for each folder, there is a limit of 10 images.
PRO TIP: Want your Sales Page to be super searchable? Get some added SEO power by naming your images with keywords for your business! You'd want to name the images something that people would search to find that particular image. For example, for a photo of a lawyer at her desk, we might title it: "lawyer for creative entreprenuers.jpg."
You can even make it easy on yourself by renaming a bunch of photos at once! Simply select all the photos you want to have the same name, left click, and choose "Rename Files." Both Mac and Windows will pop up with a menu that helps you automatically rename your photos with the same thing followed by sequential numbers.